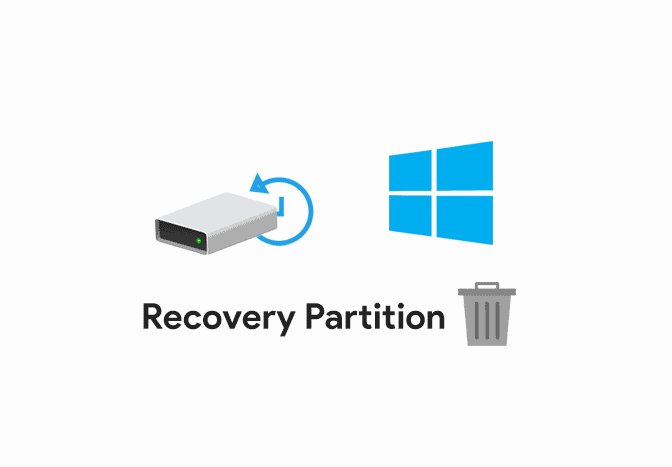
Want to delete the recovery partition in your computer? Full steps to remove recovery partition and use it as a new partition to store your files.
Turn off Windows Defender to enjoy your productive life without any disturbance. Steps to disable Windows Defender both temporarily and permanently
Full article on how to forget Wi-Fi network on your Android, iPhone, iPad, Windows, and Mac device. Know how to disable auto-join on your iPhone & iPad.
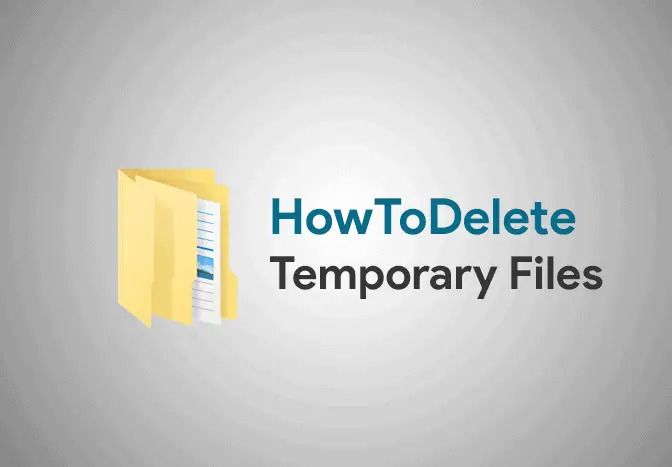
Want to clean up space on your Windows PC? Delete the temporary Files in your desktop/laptop in four different ways. Full article to remove temporary files.