Windows recovery partition is the part of your computer’s drive where it stores the system backup files and helps in system restoration. If you are running on Windows 10, it barely takes around 450 MB of storage space and even less when it comes to Windows 8 or 7. However, if you want to delete your recovery partition and claim some space, here’s how to do it.
24/7 Live Chat
Ask a Technician To Help You Cancel or Delete Live
Chat with a Tech Support Specialist anytime, anywhere

How to remove recovery partition in Windows
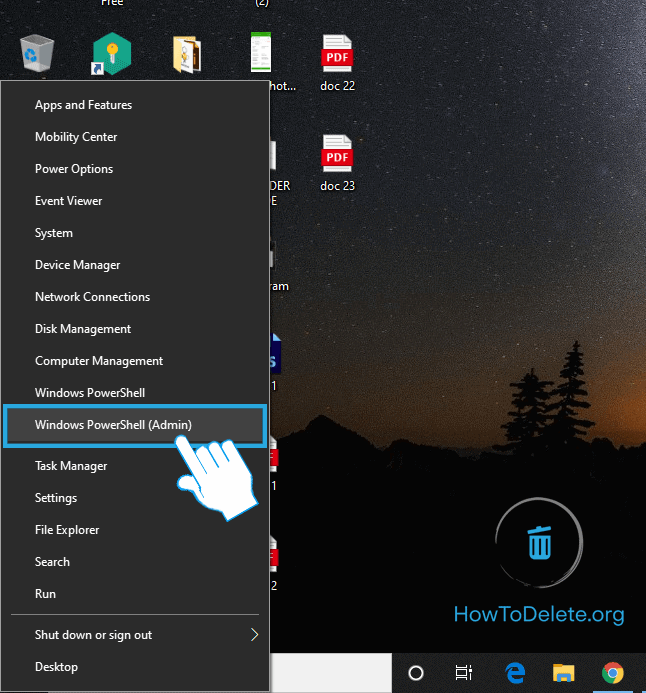
- Right-click on the Start Menu and choose Windows Powershell (Admin). Allow permission to make changes to your device.
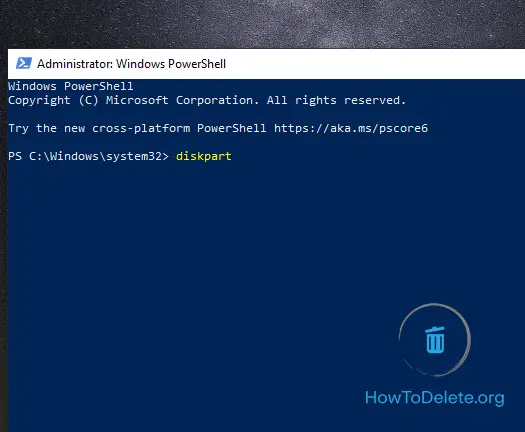
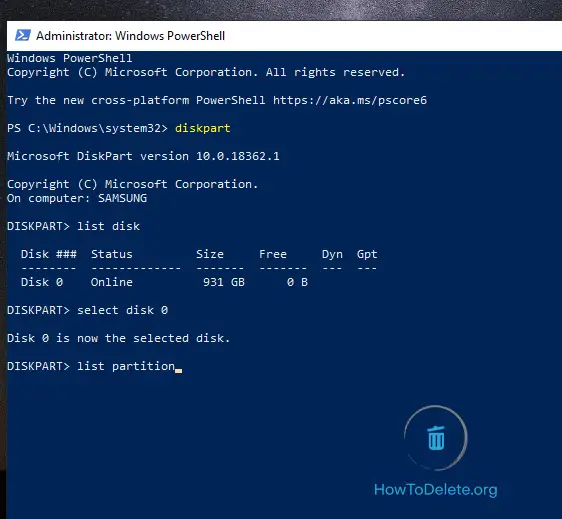
- Type in diskpart and hit Enter.
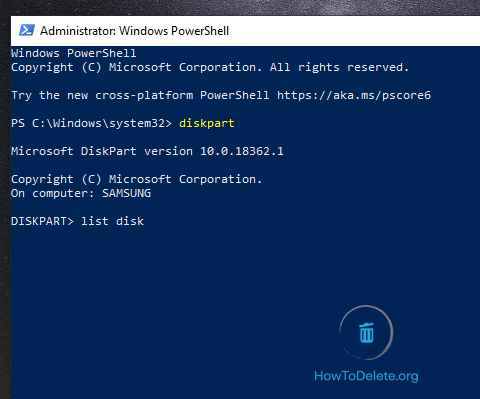
- Type in list disk and press Enter.
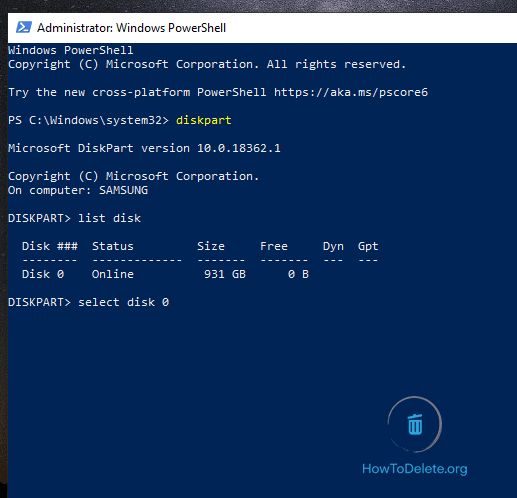
- You’ll see a list of disks on your system. Type in select disk * disk number* where the recovery partition is and hit Enter
- For example: select disk 0
- For example: select disk 0
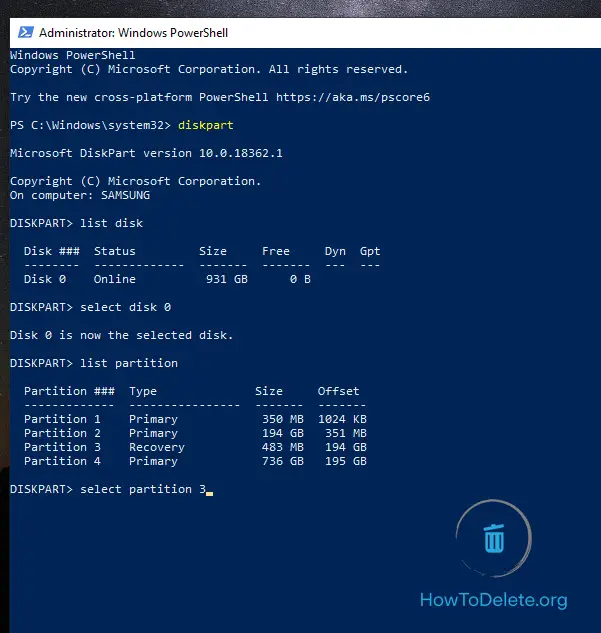
- Type list partition and hit Enter.
- You’ll see a list of partitions on the disk. Type select partition *partition number* where recovery partition is and hit Enter.
- For example: If recover partition is in Partition 4, type select partition 4 and press Enter.
- For example: If recover partition is in Partition 4, type select partition 4 and press Enter.
- Type delete partition override and hit Enter.
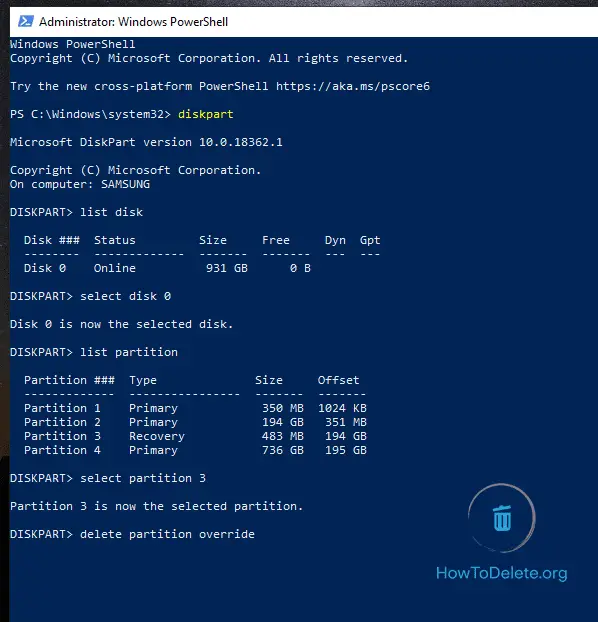
- Once you see the confirmation message, close the PowerShell window.
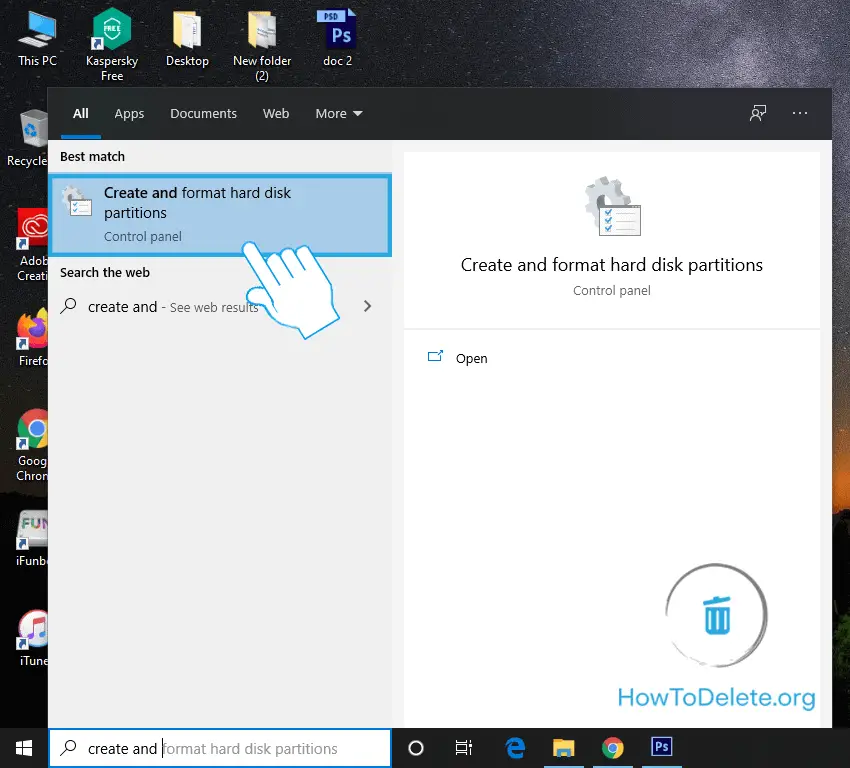
When you delete the recovery partition, it will make up an unallocated space on your drive. You have to format the unallocated partition to use it. Steps are as below.
How to format a partition
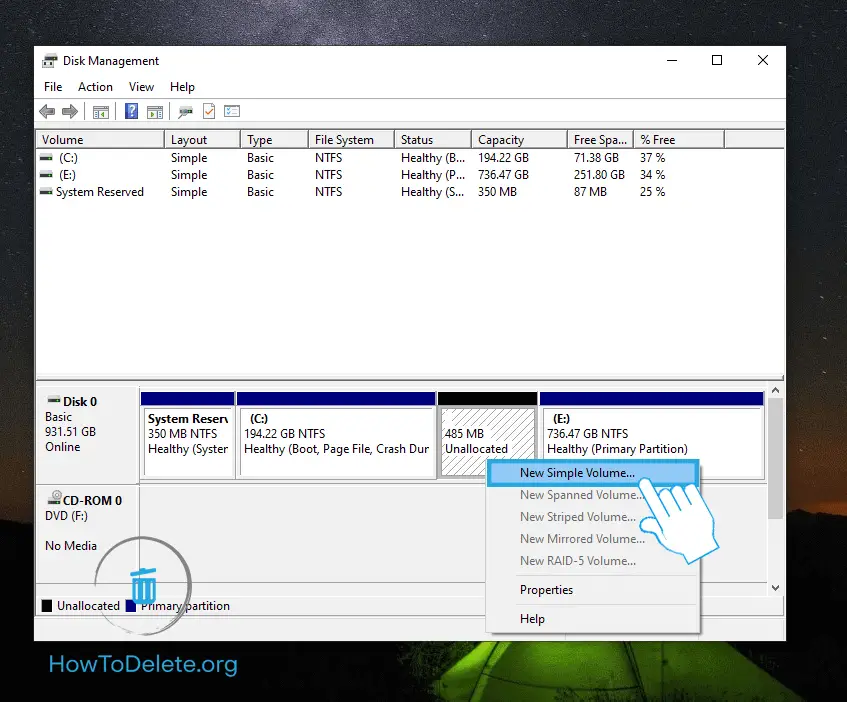
- On the Start Menu, search for Create and format hard disk partition and open it.
- Right-click on the Unallocated partition and choose New Simple Volume option.
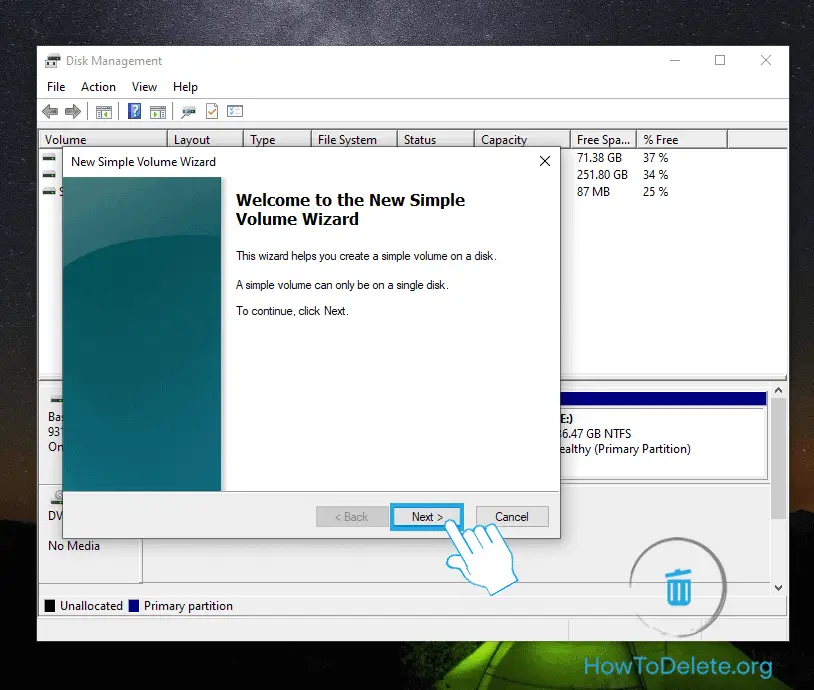
- A window will appear, click Next.
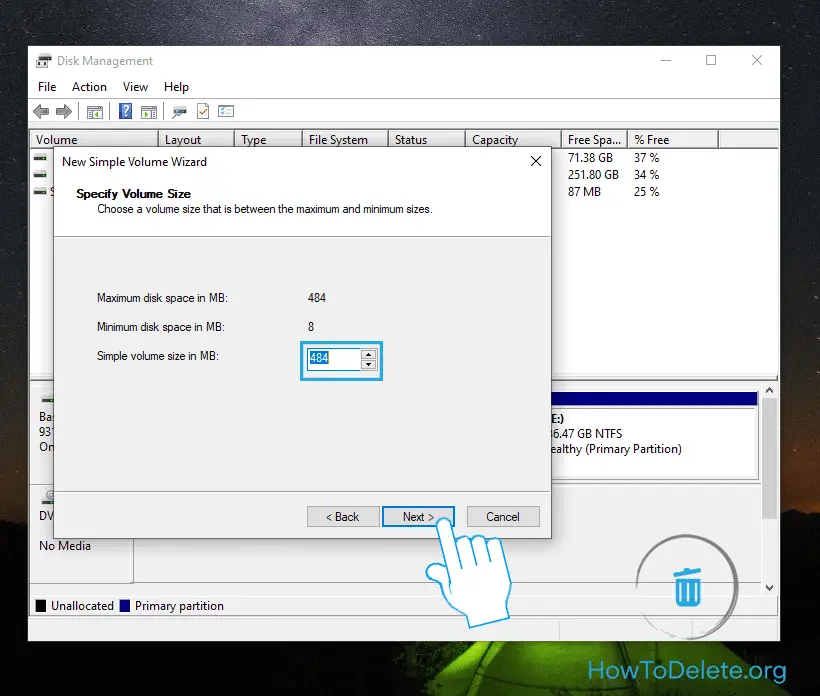
- Enter the amount of space you want to allocate in the new partition within the remaining unallocated space and click Next.
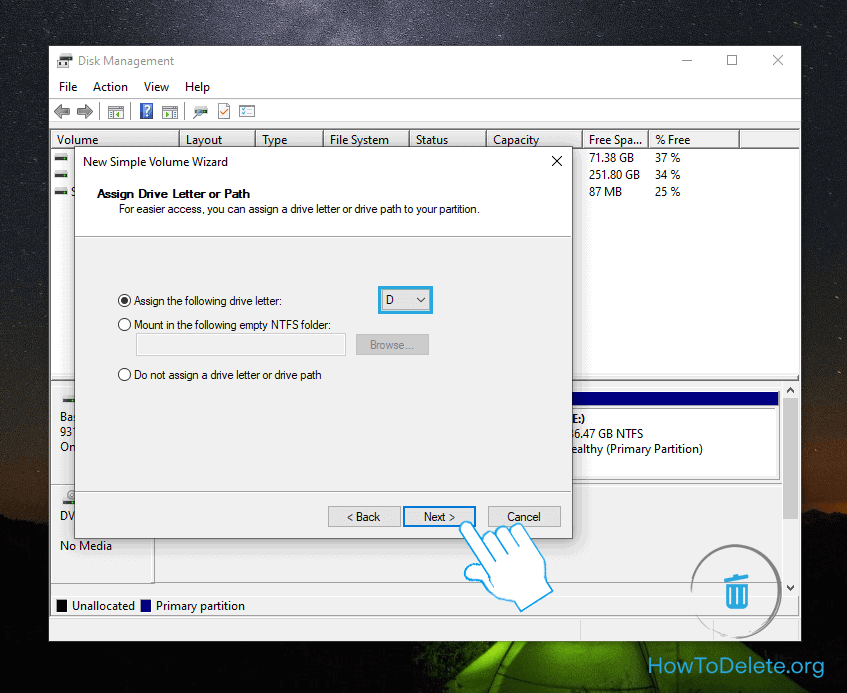
- Select the letter you want to set for your partition from the dropdown menu, then click on Next.
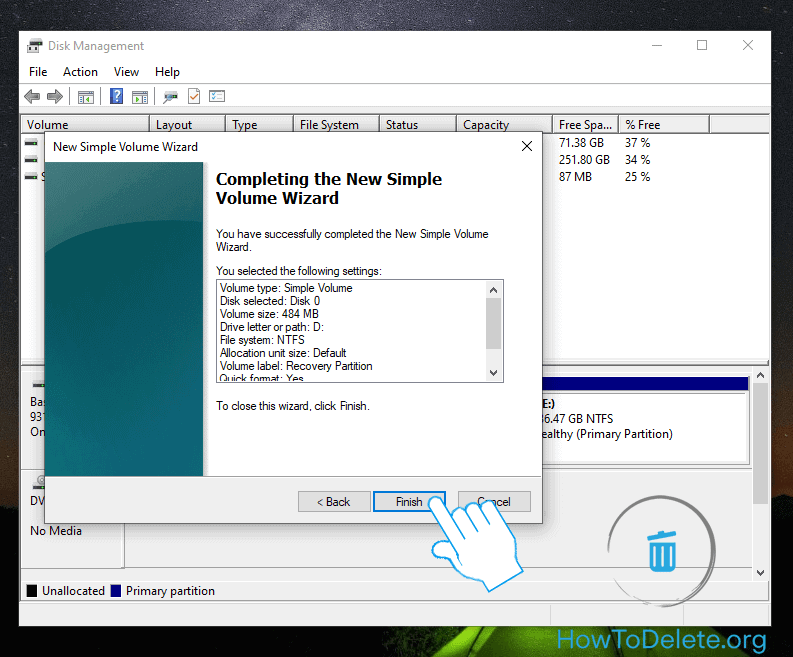
- Type in the name for your new partition in the Volume label field and select Next.

- Click on Finish. Your new partition is active.
(Visited 248 times, 1 visits today)

Abby

Chat With A Technician For Personalized Help
Get step-by-step instructions from verified Tech Support Specialists to Delete, Cancel or Uninstall anything in just minutes.
Ask Tech Support Live Now