You may think if you deactivate the Facebook account, it will automatically deactivate Messenger as well but in reality, you have to deactivate it separately.
Chat with a Tech Support Specialist anytime, anywhere

So if you don’t want people to contact you through messages, follow the deactivation process below.
Note: You cannot deactivate the Messenger without deactivating FB. If you haven’t then at first check out our article on How To Deactivate Facebook Account.
Steps to Deactivate Messenger
- Launch the Messenger app on your phone.
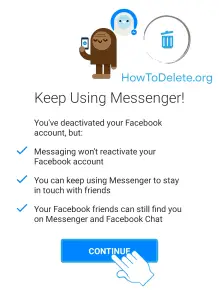
- After opening the app, if you see the Keep using Messenger page, then tap on the CONTINUE button.
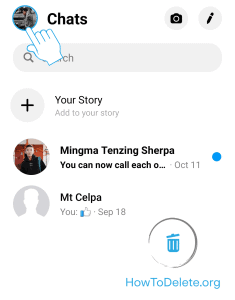
- Tap on your profile at the top left corner.
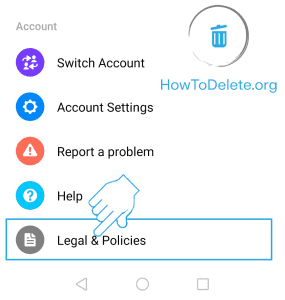
- Now, scroll down to the bottom of the page and select Legal and Policies option.
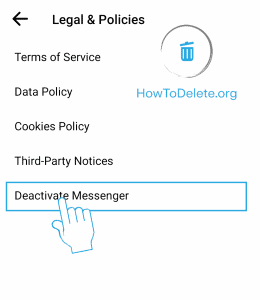
- Select the Deactivate Messenger option.
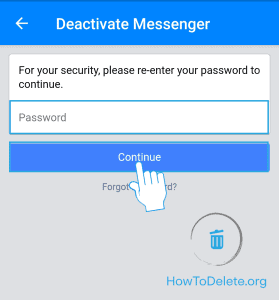
- Enter your password and tap on Continue.
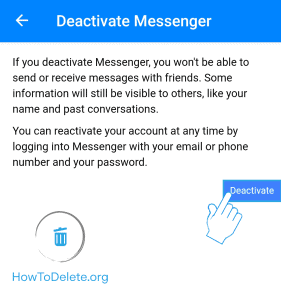
- At last, tap on the Deactivate button.
What happens after the deactivation process?
- You will be invisible in the Messenger app. No one will be seeing your profile in the app.
- No one will be able to communicate with you.
- When you reactive Messenger, it will also reactivate your Facebook account automatically.
Note: Deleting Facebook account will also delete all your messages, it’s not like deactivating both separately.
Chat with a Tech Support Specialist anytime, anywhere
How To Reactivate Facebook Messenger?
If you want to reactivate your Facebook Messenger, then simply log in to the Messenger app with your email address/phone number and password.
The latest iOS version of the app is not showing Deactivate Messenger option under legal & policies. So wait till they fix the issue or deactivate it via the Android phone.

Abby

Get step-by-step instructions from verified Tech Support Specialists to Delete, Cancel or Uninstall anything in just minutes.
Ask Tech Support Live Now